Fun Activities for Music Practice Labs If you're looking for some creative ways to make…
Chalkboard Piano: a Creative Resource for Music Lessons
Chalkboard Piano: a Creative Resource for Music Lessons
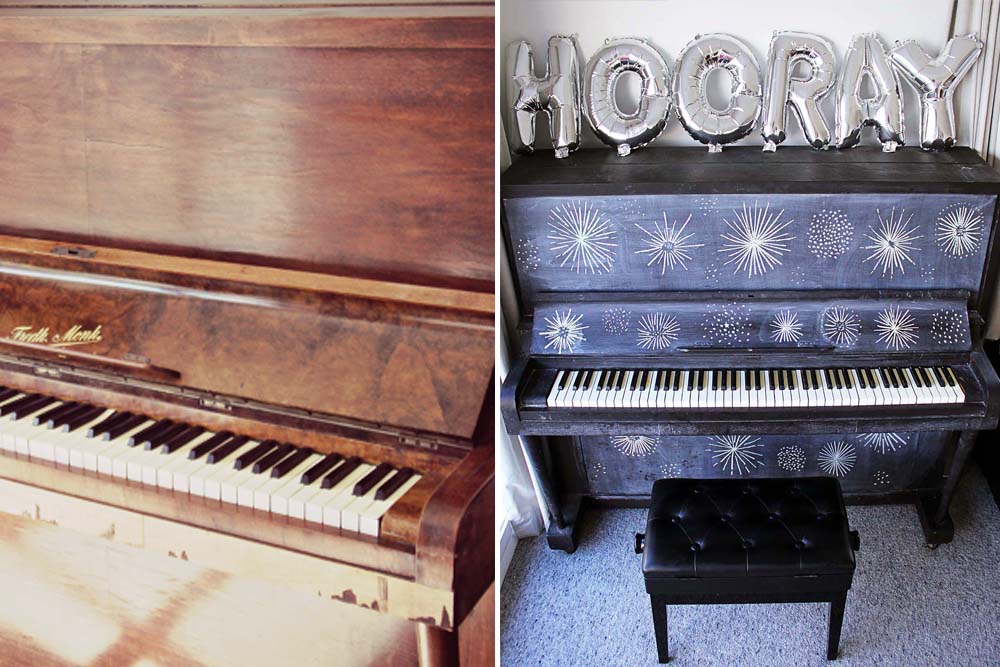
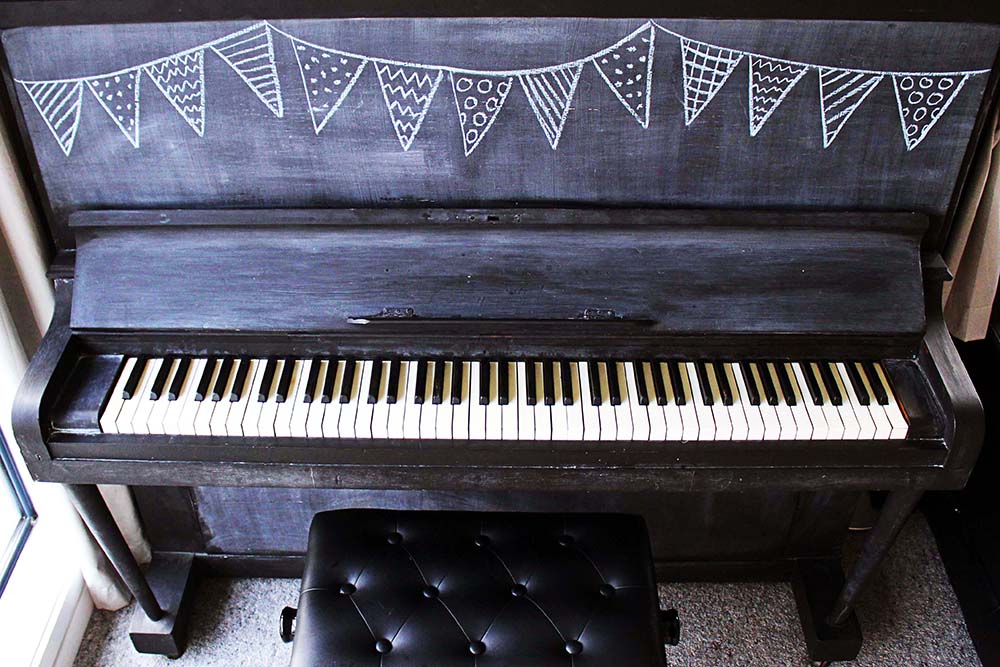
The idea of painting a piano can be very controversial! I’m sure some music teachers would be quietly horrified, but I’ve painted two chalkboard pianos and have no regrets in either case. If you’re considering painting your piano (or just curious as to why I did it!) here’s some more information.
Table of Contents
What Type of Piano Can You Paint?
The best type of piano to paint is an older upright version in need of a makeover. If your piano has any scratches or chips in the veneer, then paint will definitely help to hide them. However, if you have a piano which is already in good condition it’s best to leave it alone!

How to Paint a Chalkboard Piano
Painting a piano is surprisingly easy, and only takes a few hours (including prep work). You’ll need:
- A can of chalkboard paint
- A standard size paint brush
- An old sheet
- A rag or cloth
Once you have all your gear ready just follow these simple steps:
Step 1: Clean All Surfaces
Wipe down all wooden surfaces with a damp cloth, or if you want to be particularly thorough you can use sugar soap. I’ve tried both ways but didn’t notice any real difference in the finish, so there’s no need to get too carried away!
Step 2: Disassemble (Where Possible)
You should be able to remove the front panels on the top and bottom, the lid, and possibly the board right behind the keys. This makes painting much easier, and offers more protection for the parts of the piano you want to keep one hundred percent free of paint.
Step 3: Protect the Keys
Use a sheet to protect the keys and inner workings. If you feel confident you can even remove the highest and lowest keys to paint the edges at each end.
Step 4: First Coat
Paint all exterior wooden surfaces. There’s no need to paint inside the lid or panels as they won’t be visible anyway.
Step 5: Second Coat (Optional)
If the first coat hasn’t provided enough cover you’ll want to do a second coat, but chalkboard paint is reasonably thick and one coat is usually enough.
Step 6: Reassemble
Once all surfaces are dry it’s time to put your freshly painted piano back together. And you’re done!
When it comes to maintaining the paint, I use a damp cloth to wipe the piano down, and every few months give it a thorough clean to make it look freshly repainted. And the secret cleaning product that does the job? Coca-cola (yes, really!).

Using a Chalkboard Piano in Lessons
There are so many opportunities for incorporating the chalkboard into lessons. Here are just a few of the ways I use my chalkboard piano with students:
- Learning treble and bass notes
- Illustrating theory terms
- Identifying keys
- Writing messages to students
- Explaining and highlighting ideas
- Writing down notes when composing
- Playing games
Alternatives to a Chalkboard Piano
Instead of painting a chalkboard piano try one of these (easier!) options:
Chalkboard Wall
I love using a chalkboard in lessons so if I ever need to upgrade my piano my plan is to turn one wall of my studio into a giant chalkboard.
Chalkboard Table
I love the way Sara uses a chalkboard table in lessons. Check out her post on this note naming game that looks like a lot of fun!
Whiteboard
Using a whiteboard can be a good alternative to a chalkboard, plus it has the added benefit of being magnetic.
Large Window
If you have a large window or glass door in your studio then grab some liquid chalk markers. I love using these in group lessons when we need more writing surfaces.


